Hey There! I hope this post finds you ready to enjoy some 4th of July festivities! Who doesn't love going partially deaf as 24 firetrucks pass you buy s.l.o.w.l.y. with their sirens blaring?? Or the delicious taste of a warm Tootsie Roll you picked off of the curb- YUM!
In all reality I really do like celebrating Independence Day along with any other holiday! Today I wanted to share with you my tips and tricks on organizing my holiday decorations in the classroom.
So, first off I really really really try to keep my holiday decorations to a minimum. I mean, who has the space to store all of that?? I also spend so much time and $$$ decorating my room at the beginning of the year, that I don't like to change up too much.
It is nice to mix things up every once in a while and my kiddos always seem to appreciate the little holiday or seasonal touches I add to our classroom.
Most of the seasonal decorations that hang in the classroom are projects that my kids have created. I love to see their work hanging proudly on our walls and they love it too!
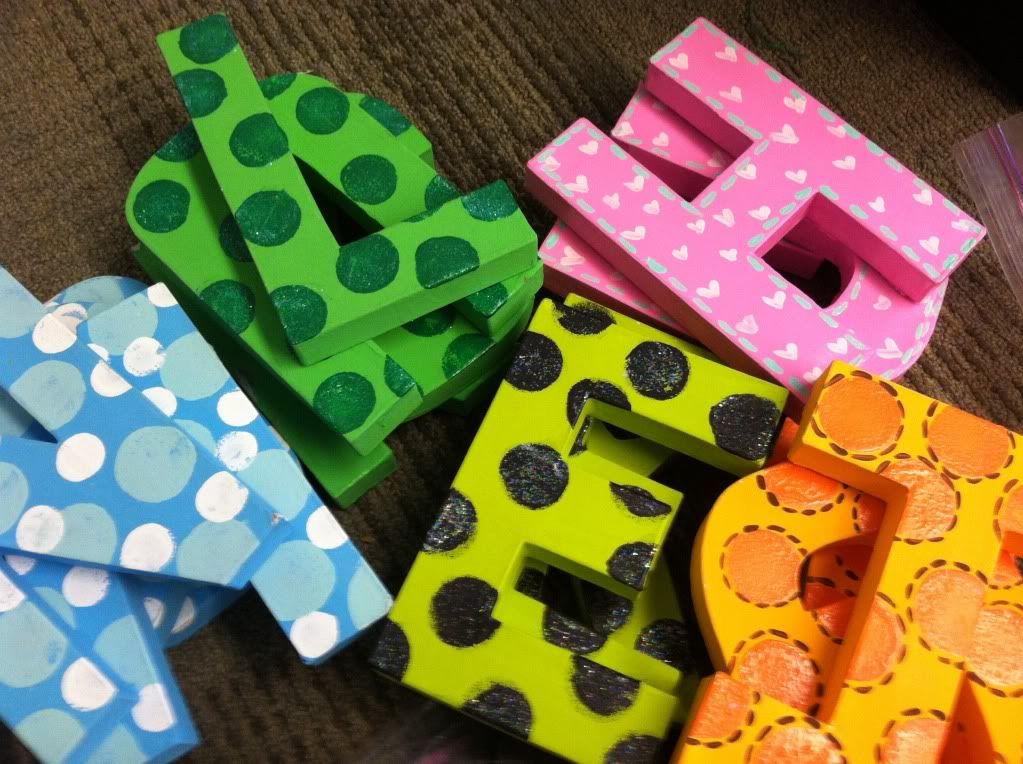
One decoration I change out monthly are these cardboard letters found at Joann's or Hobby Lobby. I've painted them in coordinating colors and have a set for just about every month...
October: EEK
November: GIVE
December/January: SNOW
February: HUG
March: LUCK
April/May: BLOOM
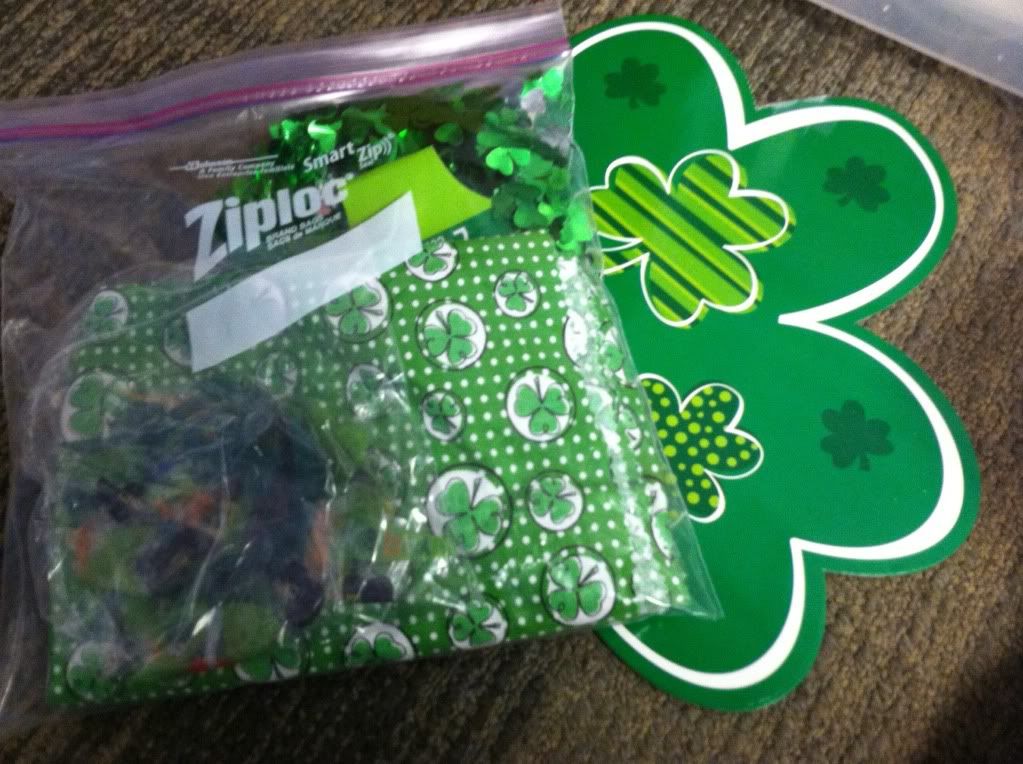
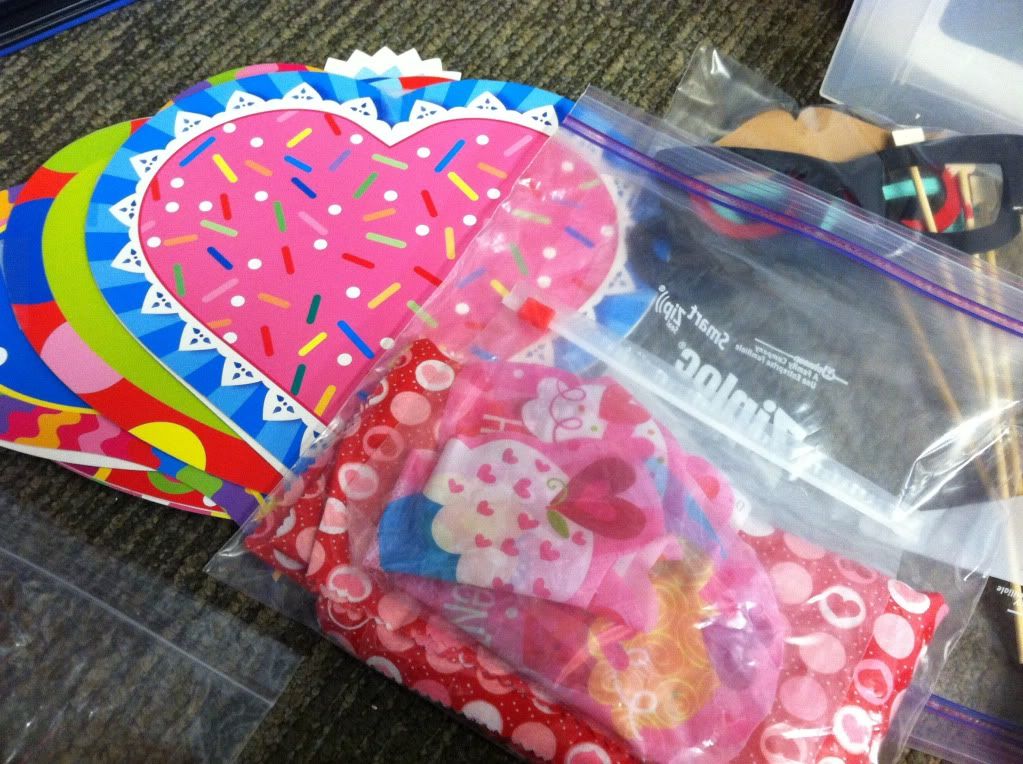
In addition to my cardboard letters I also have a few window decor pieces, window/mirror clings, and one yard of a holiday themed fabric. Since my classroom has an entire wall of windows (LOVE IT!) window decor pieces add a big punch to my classroom decor from the inside and the outside of the building.
The window/mirror clings are the perfect size to go on the small section of glass on my classroom door.
The holiday themed fabric also packs quiet the punch. I like to use it as a tablecloth in an area that is highly utilized by my students and myself.
For storage I'm able to fit my fabric and window clings along with any other little dollar store treasures into one gallon sized Ziploc bags.
I like how I can see everything at a quick glance and how nicely everything is stored. The Ziploc Bags lay flat on top of one another, the window decorations are also pretty comparable in size.
Right now I've got all of my decorations fitting into one large tub, but they could easily fit into another smaller sized bin. Hmm...that just might be something I have to do.
Do you decorate your classroom monthly? How do you store all of your decorations?