Showing posts with label Classroom Set-Up. Show all posts

Sunday, August 24, 2014

School Days, School Days, Dear Old Golden Rule Days

It's official...summer is over. Wah! It always goes so fast! The bright side is that a new school year is starting with many exciting changes and possibilities! 
My district will have two Institute Days this week and then the kiddies will arrive on Wednesday- yikes! I've been hard at work trying to pretty up my room for the new year. I'm going to have a BIG class again, 27 is my maximum capacity according to my contract. I'm also going to have a large ELL  group this year. So my classroom goals were to create a print rich environment and maximize my student space.


I've still got some work to do, but here is a little sneak peek on my digs this year!
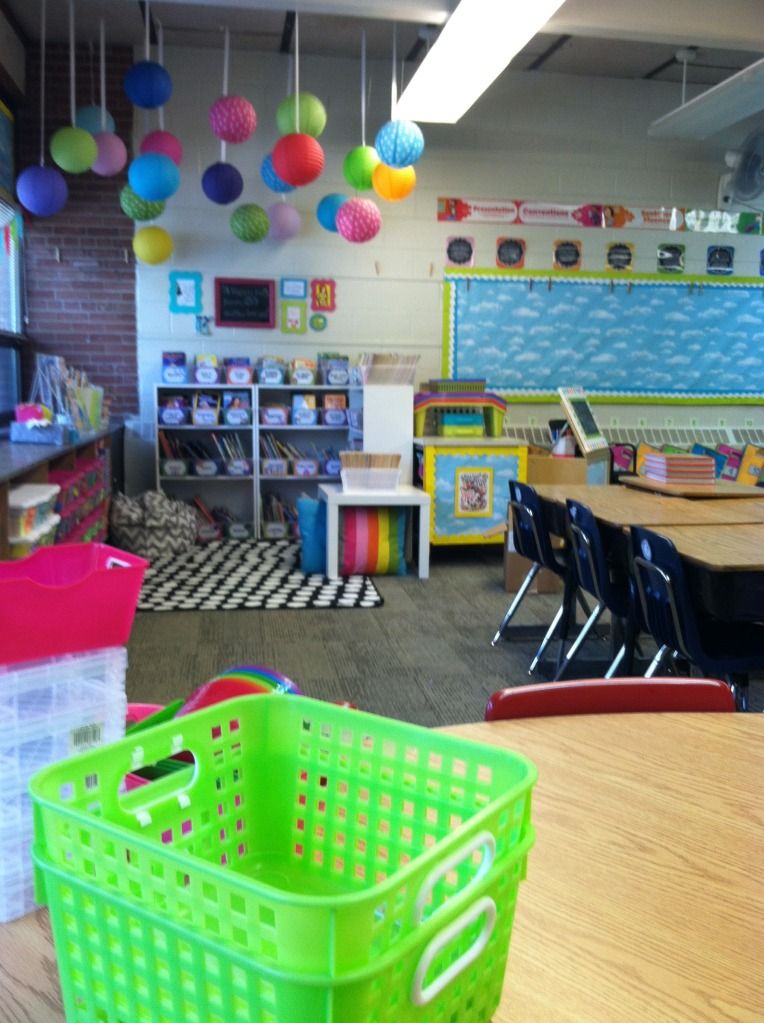
Rainbows and clouds are all over my room this year. They are making me SO happy!!!


I always feel like this corner of the room is dark and unused. I'm happy it's feeling brighter right now with the help of posters and my giant student mailboxes.  
Side note...any ideas on how to pretty up that chair without spending money?? Or a lot of time?? 
I'm thinking leftover fabric and ribbon?


The view from my teacher table over looks student desks and my classroom library. That makeover took longer than expected, but I'm loving the results!!! 


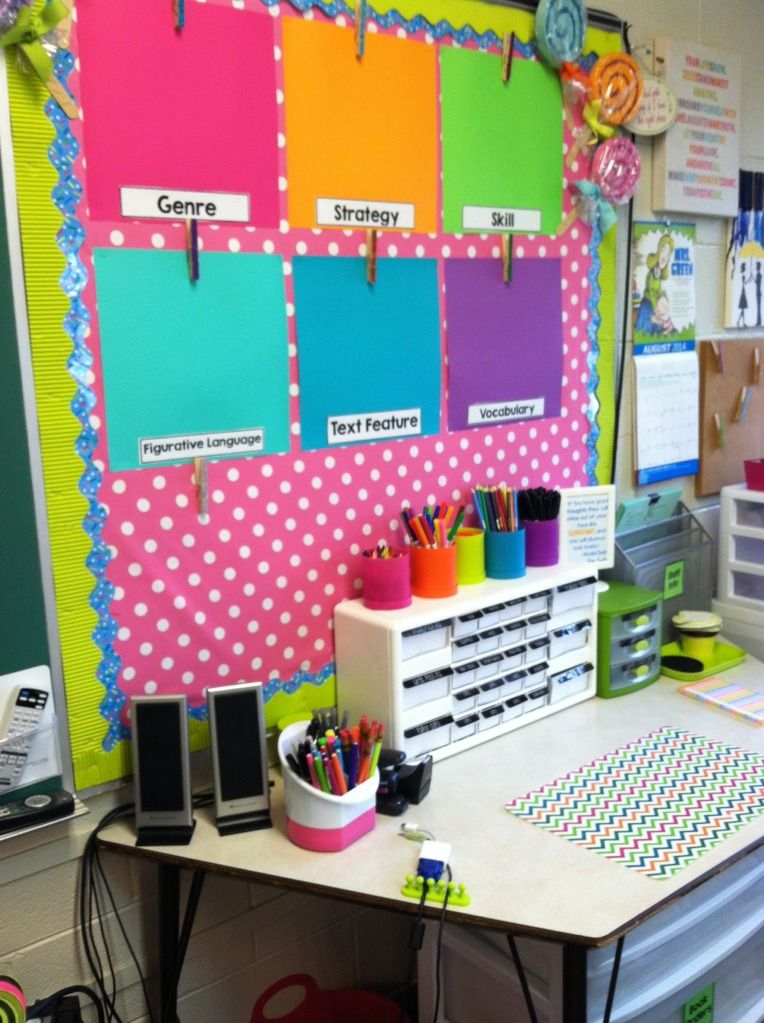
Teacher table and ELA Focus Wall


Guided Math is something new for me this year! Along with my district's new CCSS math series, I can't WAIT! I seriously love third grade math... #teachernerd
My school is also implementing PBIS this year and all of the third grade teachers will be housing Clip Charts as our unified system. 


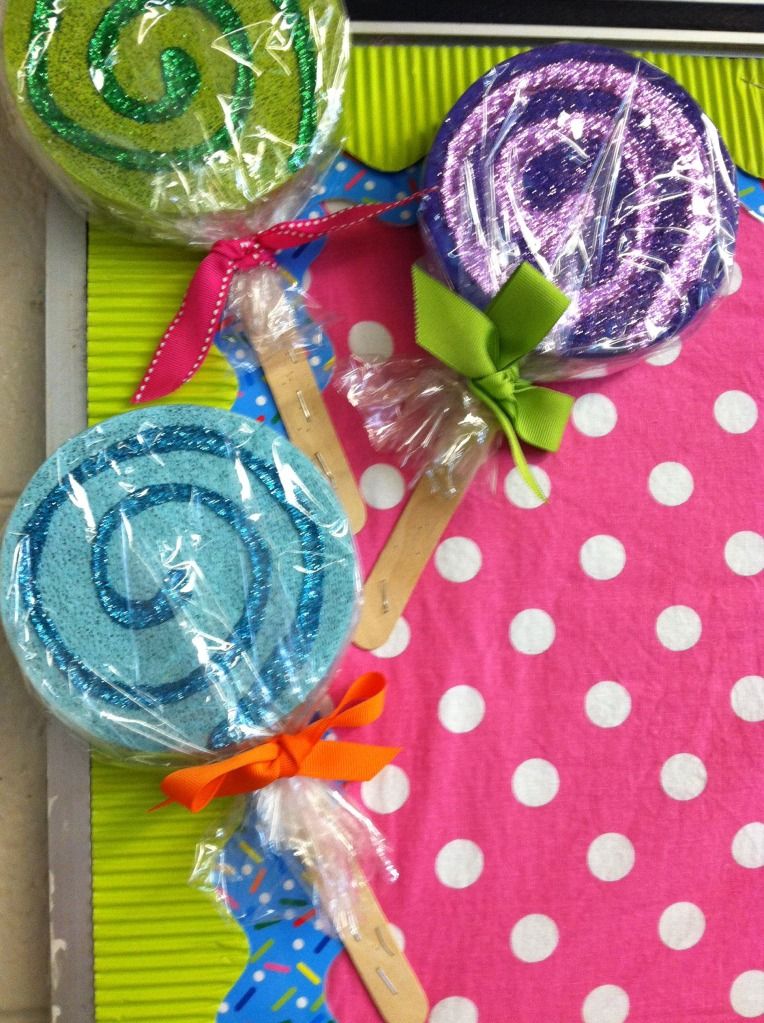
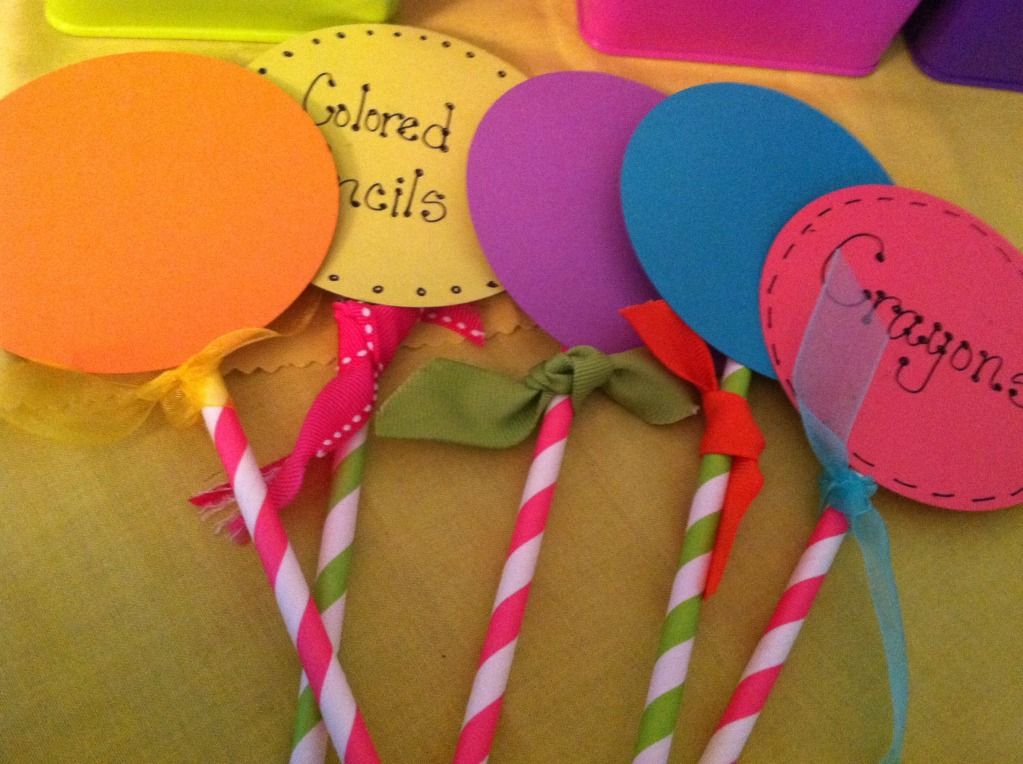
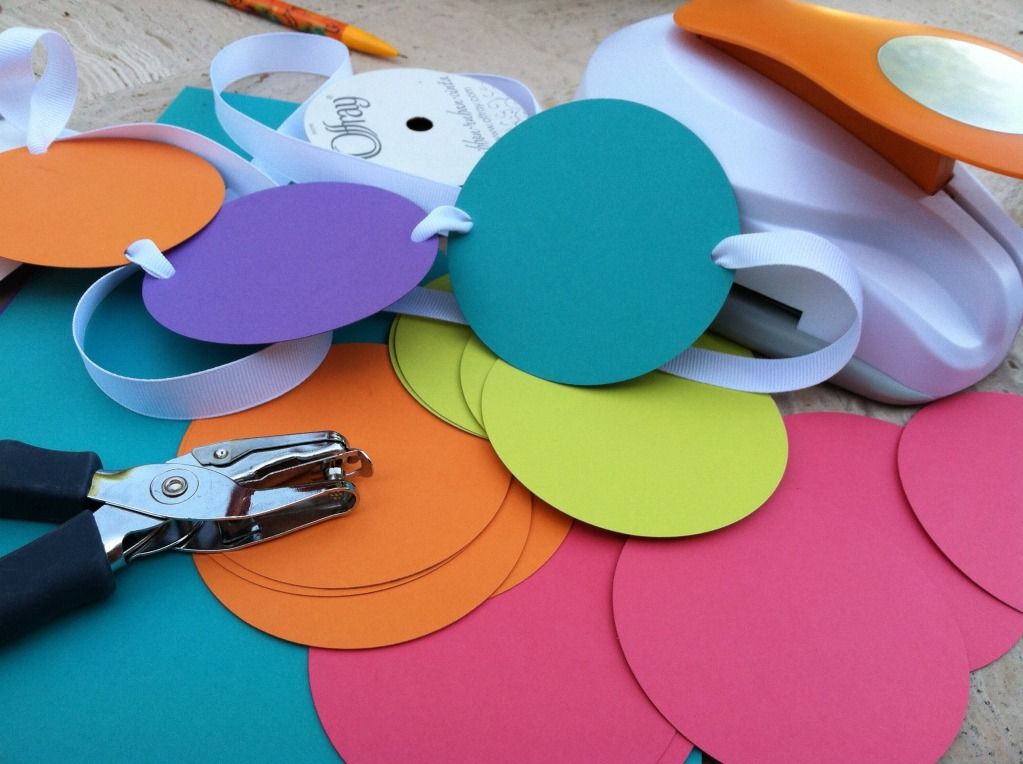
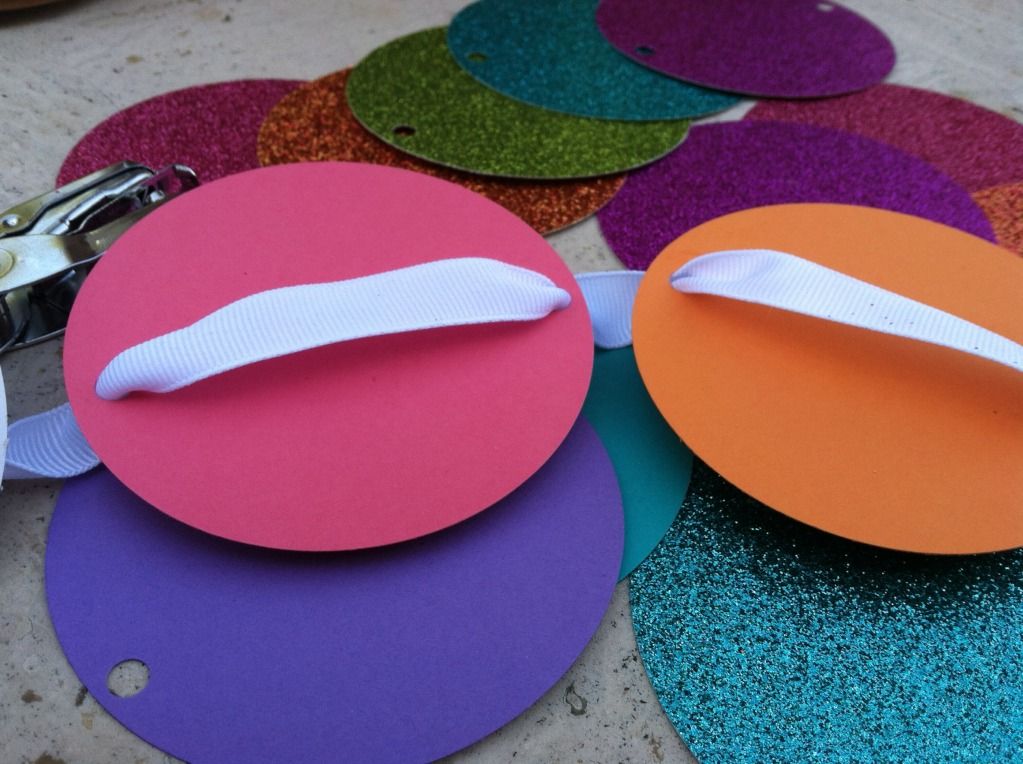
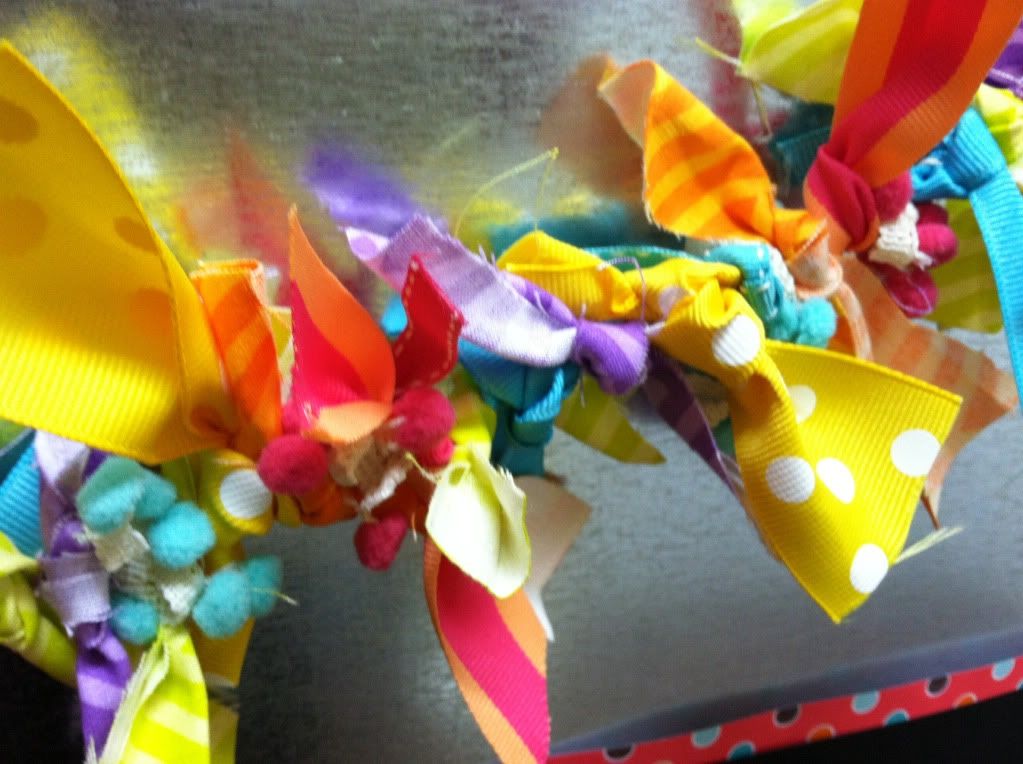
Glittery lollipops are still hanging around! Three years running with my Sweet Shoppe theme!


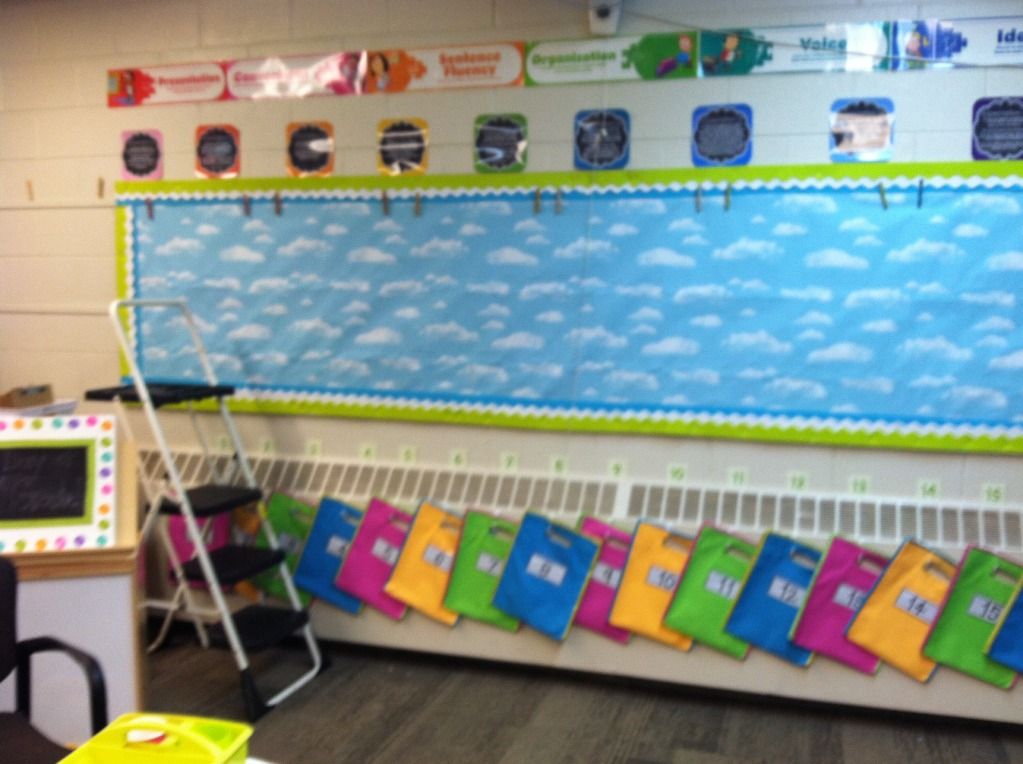
This picture is majorly blurry...BUT my reading bags & the cloud paper are just a happy place right now! Instead of chopping up this giant bulletin board this year I decided to leave it blank to make room for tons of anchor charts! 
Over head I have the 6 Traits of Writing and classroom expectations from Molly Maloy. Love her!


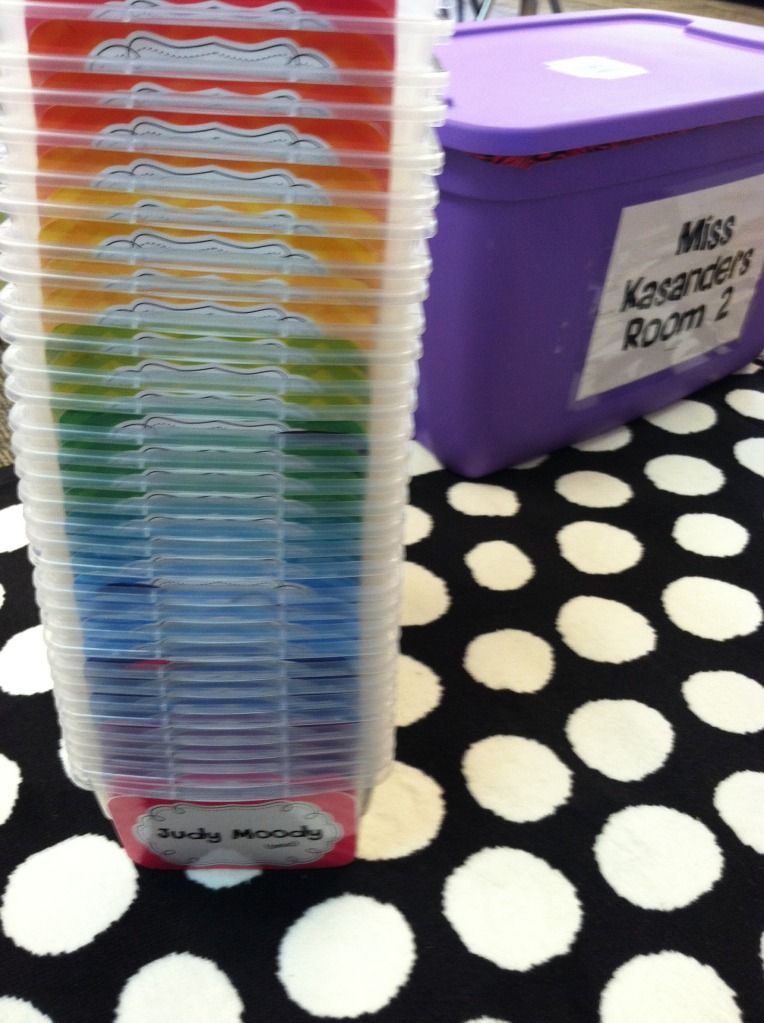
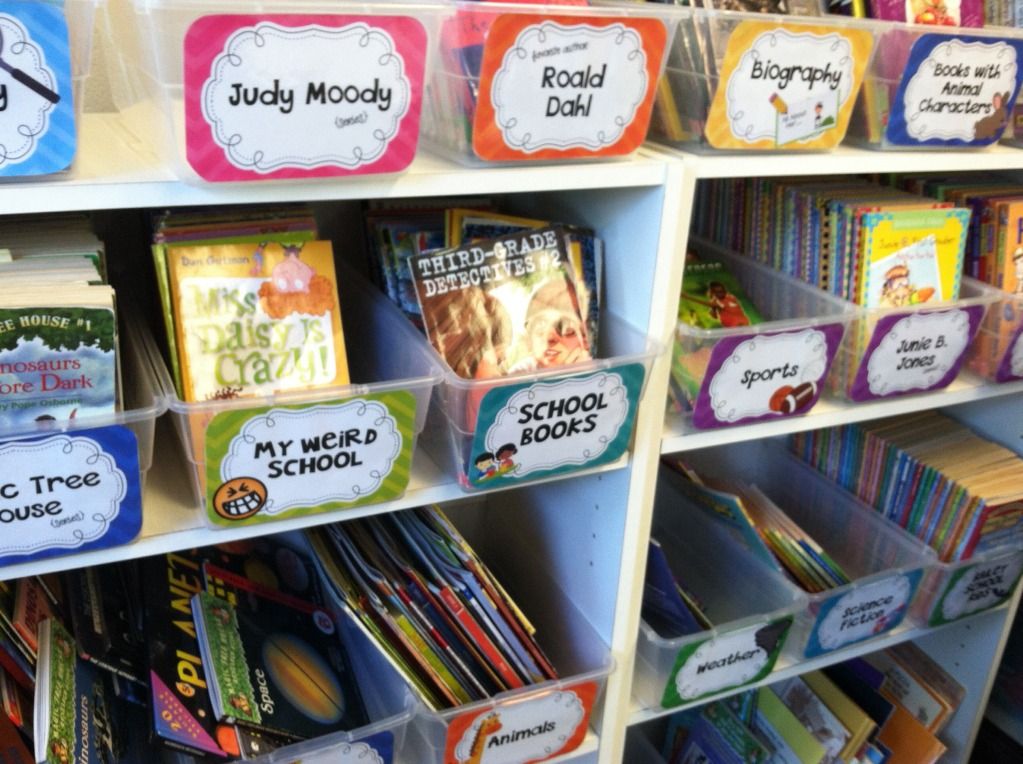
The bunting I made for my windows last year makes me smile...as do the rows of labeled bins! Ahhhhhhhhhhhhhh


This closet has had a MAJOR transformation. It was my messy zone. Like...throw it in the closet and shut the door quick before something falls down messy. 
Now it holds recess games, prizes for our Sweet Shoppe Trade In, colored paper and copies and oh so much more! 


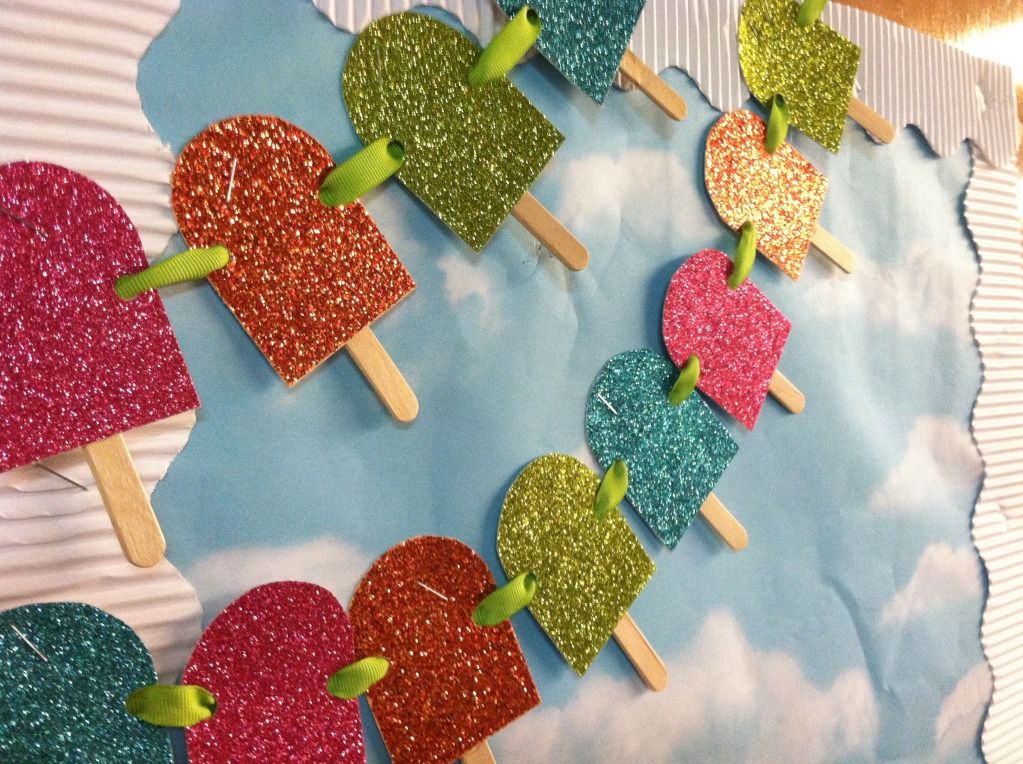
And my last final shot of some glitter popsicles and clouds on my classroom door! Eek! 

I'm resting up this weekend and am hoping you are too!!!!

Monday, July 28, 2014

Monday Made It 7-28-14


Hi, remember me!? I've been enjoying this hectic and quick summer...where has the time gone??
I've been traveling all the great midwest this summer, spending time with friends and family, and have even snuck into my classroom for a day or two. 


I decided to take on the daunting task of reorganizing my classroom library...it just had to be done.  My labels were peeling off and the original organization or groupings of the bins were just not working anymore. 


I use standard plastic shoe boxes because they're cheap and I can always find new ones that match.  I have an unreasonable fear about investing in the super cute colored bins and the brand to decide not to carry the color I need anymore.  Resulting in mismatched bins...the horror! 

With the help of Molly at Lessons with Laughter Colorful Library products, my library is on the way to looking pretty darn good!  


I adore Molly's adorable label stickers for each individual book.  It makes keeping the books organized throughout the year much more smooth for my kiddos.  My previous labels were no where near this cute! Plus, the oil from hands rubbed the ink off of many of the Avery labels.  So, I've added the step of a layering a piece of Scotch packaging tape on top. 

Hopefully this library won't need another makeover anytime soon!!!


This week I was SO proud of myself for finally finishing a few projects that had been on my To Do list for what seemed like forever! I'm thrilled with how my Reading Strategy and Skill Poster Set came out and can't wait to use it on my classroom Focus Board. At $3.25 it could be a great addition to your room too..and don't forget about the upcoming TPT B2S Sale!!!


Another thing crossed off the list is my Multiplication Bingo game! I'm making the transition into Guided Math Centers this year and can't wait to use this with my third graders! Last year I used a Homophone Bingo game in my literacy centers and it was a BIG HIT....can't wait to see how they love this! 

I'm hoping to stay on a roll this week by continuing to work on some school projects.  Operation file cabinet makeover is in the works! 

xoxo


Sunday, July 6, 2014

Monday Made It 7/7/14


Are you still standing after the holiday weekend?? After a few BBQ's, birthday parties, parades, fireworks, and a wedding I'm barely making it.  Can I tell you that I'm proud of myself for finishing not one, not two, not three, but FOUR projects!!! I decided to give myself a personal challenge the past few weeks of just using supplies I already had...no purchasing of crafing candy allowed. :(

I just might end that streak for next week, but who knows! I do like using some of the stuff that's been hanging out in my drawers!


Okay, first thing's first...will you forgive me for using my handwriting and not typing up a pretty label? Will you? Please? Pretty please??
I have a large collection of paper straws....like I should be ashamed by how many I have. Don't you know that if Michael's puts paper straws in their dollar section I HAVE to get them? Well, I do.
It's a fact.
 
 
I used my circle cutter from Fiskers, left over scrapbook paper, paper straws, and some ribbon scraps to create these little lollipop labels!
 
I like the idea of using these to label some of my student supply bins.  You can read more about my classroom supplies HERE on For The Love of Teaching's blog. :)


My second made-it was made with left over cardstock in my classroom colors (magenta, orange, lime, teal, and purple) as well as some leftover glitter paper, one spool of ribbon, and my Fisker's circle cutter!
 
 
I've been all about making buntings this past year. They're SUPER simple and SUPER affordable. I usally make mine with left over scraps of paper or fabric. Put on an episode of Real Housewives and I'm good to go!
 
 
Just punch two holes on either side of your piece of paper or fabric, string the ribbon through the back and wha-la!
 
This particular bunting was inspired by Eric Carle's dots on the inside covers of The Hungry Caterpillar...LOVE!


This next Made It I meant to make last year...and boy was I regretting it! I bought this glitter photo album from Michael's with the intent of filling it up with my students' usernames and passwords for the variety of sites and apps we use throughout the year.
 
 
Do you see some left over glitter paper that made it onto there??
Anyway, between school log-ins, Acellerated Reader, Show Me, Edmodo, our math on-line series, our reading on-line series, Google Drive, and who knows what else I cannot keep everything straight!
 
My tech director and I try to keep the same username for as many places as we can for the kids sanity (and mine) but inevitably something almost always has to change.
 
I printed off this simple little organizer and will be filling it in with pencil. I KNOW that at some point the log-ins will have to change. Ugh!
Hopefully this will help me stay organized...


My last made-it was something just for me.  I know what you're probably thinking...Erin..girlfriend...it looks like your necklaces are all in a mess!
 
Well, folks I did that on purpose!

http://kkblumush.buzznet.com/photos/amandaseyfriedrocksp/
 
When I first spotted Amanda Seyfried in this Tom Binns Design necklace I thought it was to die for. I fell in love with the messy, unstyling look of the jumbled jewlery box necklace.  I immediately started collecting my own vintage and vintage inspired necklaces to combine together.
 
 
I know it's not for everyone, but I'm loving it!
 
I can't wait to see what everyone else has been busy making and to start getting inspired for next week!
 
XO


Tuesday, July 1, 2014

Tips and Tricks: Bulletin Borders


Hey there!
So what teacher doesn't love a good trick?  A teammate of mine noticed what I did with my borders and I thought if SHE found it interesting...maybe, just maybe someone else will too.  
If this is not anything new to you, well I'm sorry, you can place your complaints with her ;) 


Here's a snapshot of one of my front bulletin boards.  I use fabric as my background.  I like how it holds up against the harsh florescent lighting in the classroom.  This particular piece has been up for two years and still looks great! 


So, first thing's first.  I loved Melanie's tip from Schoolgirl Style on layering borders.  It's one of those things when I read it and saw a visual of it...I thought, why didn't I ever think of that!? 
*Smack hand to forehead*
I also love the blend of textures and prints/solids when using the bordette and a patterned border.  Not to mention the fact that it's cost effective! 

Any who....although it's hard to see, the sprinkles border on the right has been laminated.  That's right.  Laminated. I learned this trick while completing my student teaching and it saves SO much $$ especially for those of you who swap out your borders throughout the year.  

BUT, it also saves me a lot of time.  Since the border is laminated I just gently lift the entire piece off and remove the staples later. 

My next tip is that I don't ever, ever, EVER cut my borders.  How many times are you searching for borders and find all sorts of little odds and end clippings that were used to patch up holes?   It drove me crazy!!!! 


I decided to stop cutting my borders.  Sure, it means I may need to have a few extra strips of border, but this way I have a pristine set awaiting me for next year. 


Here you can see instead of patching up this spot with half of a border, I laid an entire second piece of border matching up the scalloped edges.  

I hope you found this a tad helpful as you make your plans for your classrooms! 
XOXO


post signature

Monday, June 30, 2014

Monday Made It 6/30/14


Helloooooo All!!!
I can't believe summer break is flying by so quickly, today marks Day 19 for me! Yikes! I haven't been blogging much lately, because I've been enjoying my break and don't have too many exciting things to report. BUT I was able to put together something I've been wanting to make for a while for Tara's Monday Made It Party.  A magnetic organization board using an oil drip pan! You can find the original pin HERE.


My oil drip pan came from Auto Zone and cost me $10.  All of the other supplies I used were odds and ends that I already had in my giant stock pile of craft supplies! YAY! 


I decided to decorate only one corner of the board and leave the rest plain for now.  I might tape things off later, but I was worried about getting too far ahead of myself. 


I'm love, love, loving how the fabric and ribbon knots turned out.  They remind me of my ribbon swag that hangs in my classroom! :) 


I also was able to whip up some new glitter magnets for my board.  Does it surprise you that I had all of this supplies already? Surely not. 


I posted how to make these last year...for my very first Monday Made It! Aww, sweet memories! 


Monday, March 31, 2014

Classroom Tour...It's About Damn Time! 2013-2014

Hey All!
So, this post has been sitting in my drafts since..well...forever ago.  It's not that I don't love my classroom, I do.  It's just that...well....it's not totally perfect yet.  I can be a bit of a snob about what goes into my classroom or having things 'just right'.  At least I can admit it, right?? The building I teach in is over 50 years old and I am in the eldest wing.  There is some serious ugly going on.  No joke. My ceiling is pretty disgusting, so I try to do anything I can to distract from it.  I also really, really need new doors.  They are so worn and have seen MUCH better days.  AND the worn wooden shelves aren't my favorite either, but what can you do??
It's not all that bad and the important thing is that it's a safe place to get some learning done, which I think it accomplishes! Unless there's something lurking in the ceiling that I don't know about...

I kid, I kid!!!
Maybe.

Anyways, I kept thinking I would wait until the room looked better, but that day has yet to arrive.  Without further ado, this is what life looks like for this short and sassy third grade teacher and her 26 sassy students!


This picture is taken from the front of my room.  My student desks are always in groups, I love the collaboration going on between them! Each group has a designated color: Magenta, Orange, Lime, Teal, and Purple. 


Here's a close up of one of my drawer systems. The caddies on top hold hi-lighters (of course they're in coordinating colors) pencils and a pencil sharpener.  They also have a place to turn in work quickly.  I'll give you a peek inside the drawers...my kids are responsible for keeping them neat...so, you've been warned. 

Top drawer are student supply buckets, second drawer has a set of dry erase boards, markers, and erasers, and the bottom drawer holds student headphones in baggies. 

Here's a view of the back of my classroom. 

The Flavor of the Week board features a different student from the class each week.


The beloved CRAFT board, from Ladybug Teacher Files displays the reading strategies and skills we are continually working on.  You can see my favorite reading genre posters made by Molly Maloy from Lessons with Laughter.  

Reading is a Treat is where my students can keep track of their Reading Log assignments.


Independent reading bags from Really Good Stuff hang on 3-M hooks at the back of my room.  I love that this doesn't take up any of my shelf space!!

A few of my favorite sweet shoppe touches...glittery lollipops...

 and glittery popsicle bunting!


This area looks nothing like this any more...the old classroom computer is gone. The adorable gum ball machine is gone...and the 6 Traits of Writing poster is re-vamped.

More fun touches...bright cupcakes...

writing center supplies...

I'm loving all of the bright colors!

I love these theme posters..and my fluffy ribbon bunting! 


This map was an amazing Five Below find! It comes with animals that velcro on, this will be great when we study animal habitats!


Supply bins that hold extra supplies as well as some Word Work options.


This is my closet door that's been covered with contact paper.  It was too ugly to leave plain! There's room for featured student work as well as our hallway pass system.


Here's a shot of the front of the room.  More Daily 5 supplies, job board, Clip Chart, CCSS I Can statements, vocabulary, and our daily schedule...phew! That's a whole lot of stuff in one little corner!

Another view of the front.  My Smart Board, document camera, calendar, and class behavior system.


This is a view of my teacher area.  I was so glad to get rid of my desk and just use my small group table.  You can read more about how I organize my space HERE
**Don't worry- I do not still have leaves hanging in my windows, I told you I've been meaning to post this forever!


Last corner is my classroom library.  The paper lanterns and bunting make me happy!


Spy that cute little cupcake rug!?!? That came from my sweet, sweet blogging buddy Lana at For the Love of Teaching.  I big puffy heart her.  

Sorry for the picture overload, but I hope you liked getting a sneak peek into the room! 
Anyone else on spring break? Mine has just started and it is GLORIOUS!

XOXO